

SWE’s recent case study underscores the critical role of female STEM mentorship programs. Mentorship programs function as gateways to professional networks and provide essential support resources for women in STEM.
Source
SWE’s recent case study underscores the critical role of female STEM mentorship programs. Mentorship programs function as gateways to professional networks and provide essential support resources for women in STEM.
Source
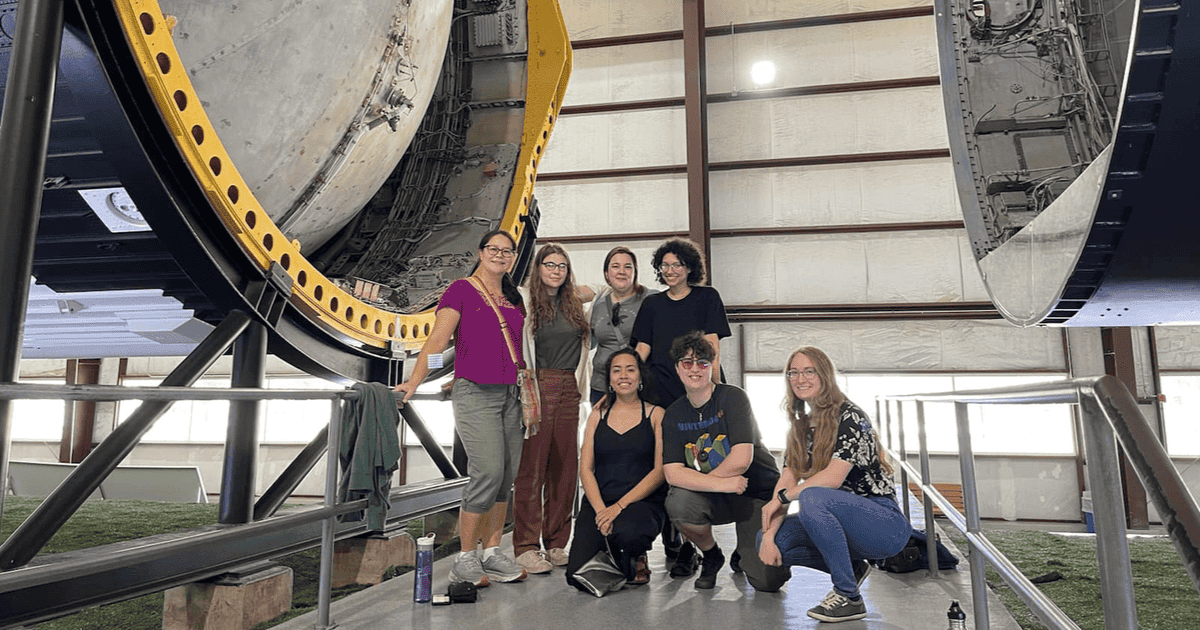
Learn how SWE’s Community College Affiliate Support and Expansion (CCASE) Program helped the SWE Everett Community College Affiliate take their membership and activities to the next level.
Source

For a limited time, all community college students can access the SWE Mentor Network regardless of membership status. Learn how to access this valuable resource in this article.
Source
Inaas Darrat reflects on her career in chemical engineering and shares her experiences as an Arab American leader in STEM in this new episode of Diverse: a SWE podcast!
Source
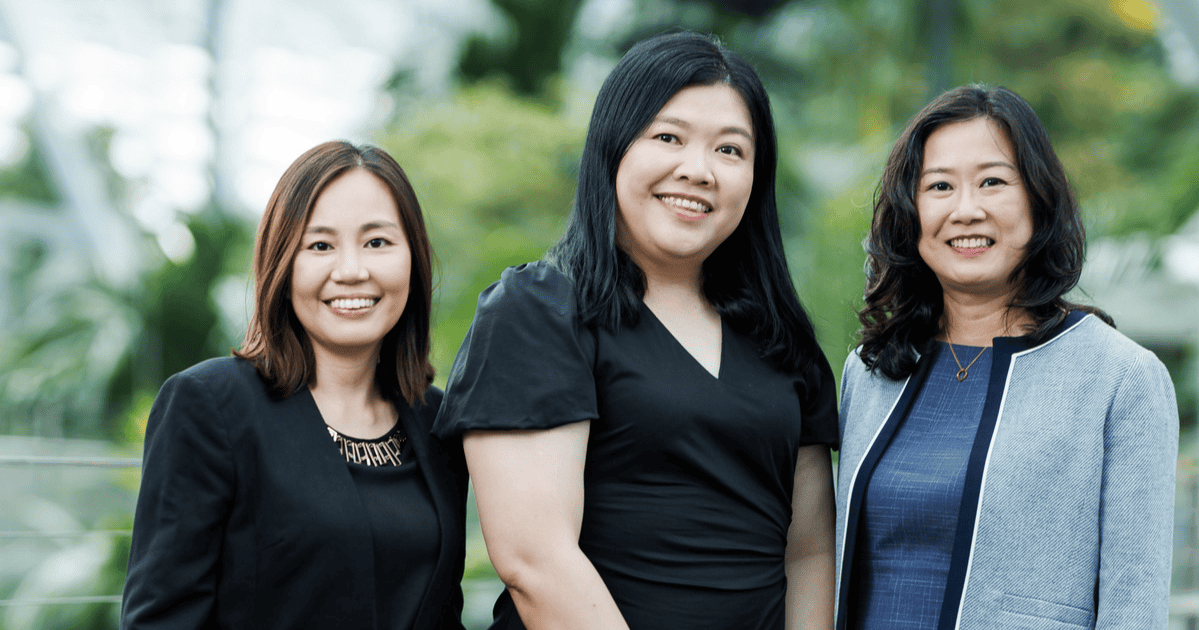
Get to know the goals, accomplishments, and tight-knit community of SWE’s Singapore affiliate.
Source