
Learn about equity and inclusion for the neurodivergent community in this conversation with Morénike Giwa Onaiwu, founder of Advocacy Without Borders.
Source
Learn about equity and inclusion for the neurodivergent community in this conversation with Morénike Giwa Onaiwu, founder of Advocacy Without Borders.
Source
Find out how to nominate the women engineers who inspire you every day! Submissions are due Wednesday, Jan. 31, 2024.
Source
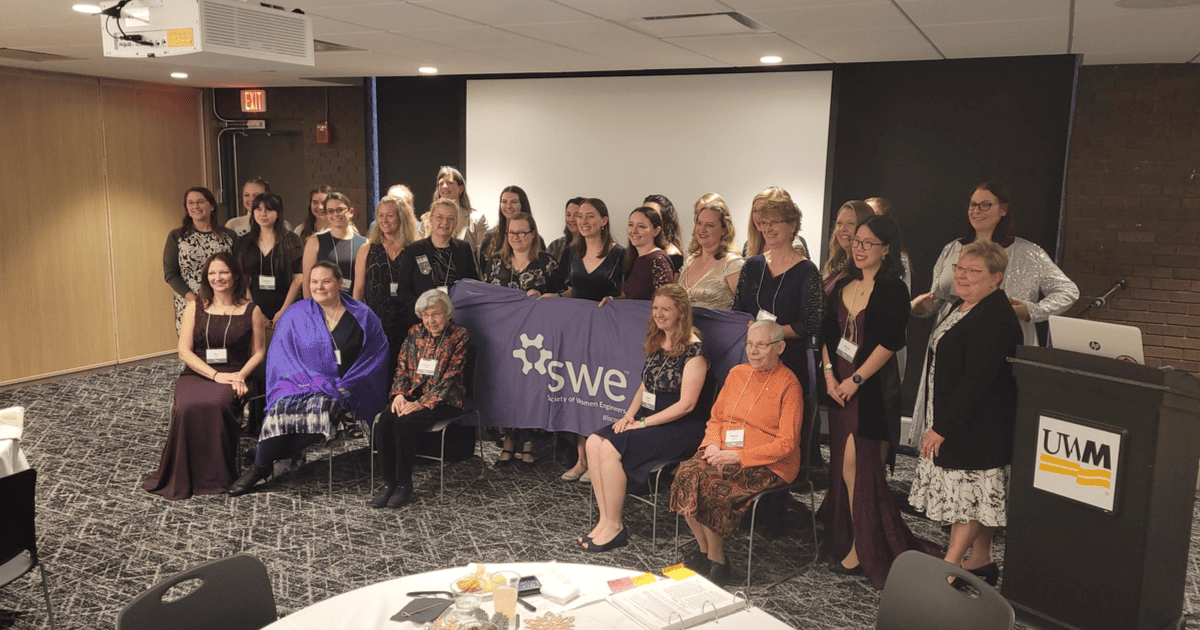
Explore the highlights of the SWE Wisconsin 50th anniversary celebration that took place in Milwaukee.
Source
As 2023 comes to an end, SWE reflects on the organization’s metrics, achievements and impact from the past year.
Source

As a part of the HeForSWE Affinity Group’s spotlight month, SWE highlights professionals and male allies, discussing their perspectives on allyship in STEM.
Source