Did you know that nearly 90% of eye discomfort instances reported in optical consultations are caused by foreign objects, including one’s own eyelashes?
If you’ve ever experienced the irritating sensation of an eyelash getting caught in your eye, you’re far from alone. It’s a common yet avoidable issue.
By exploring methods such as proper eyelash grooming and choosing the right makeup, you can significantly reduce the chances of this happening.
We’ll uncover some effective strategies that keep your eyelashes in place and ensure they complement your eye health rather than compromise it.

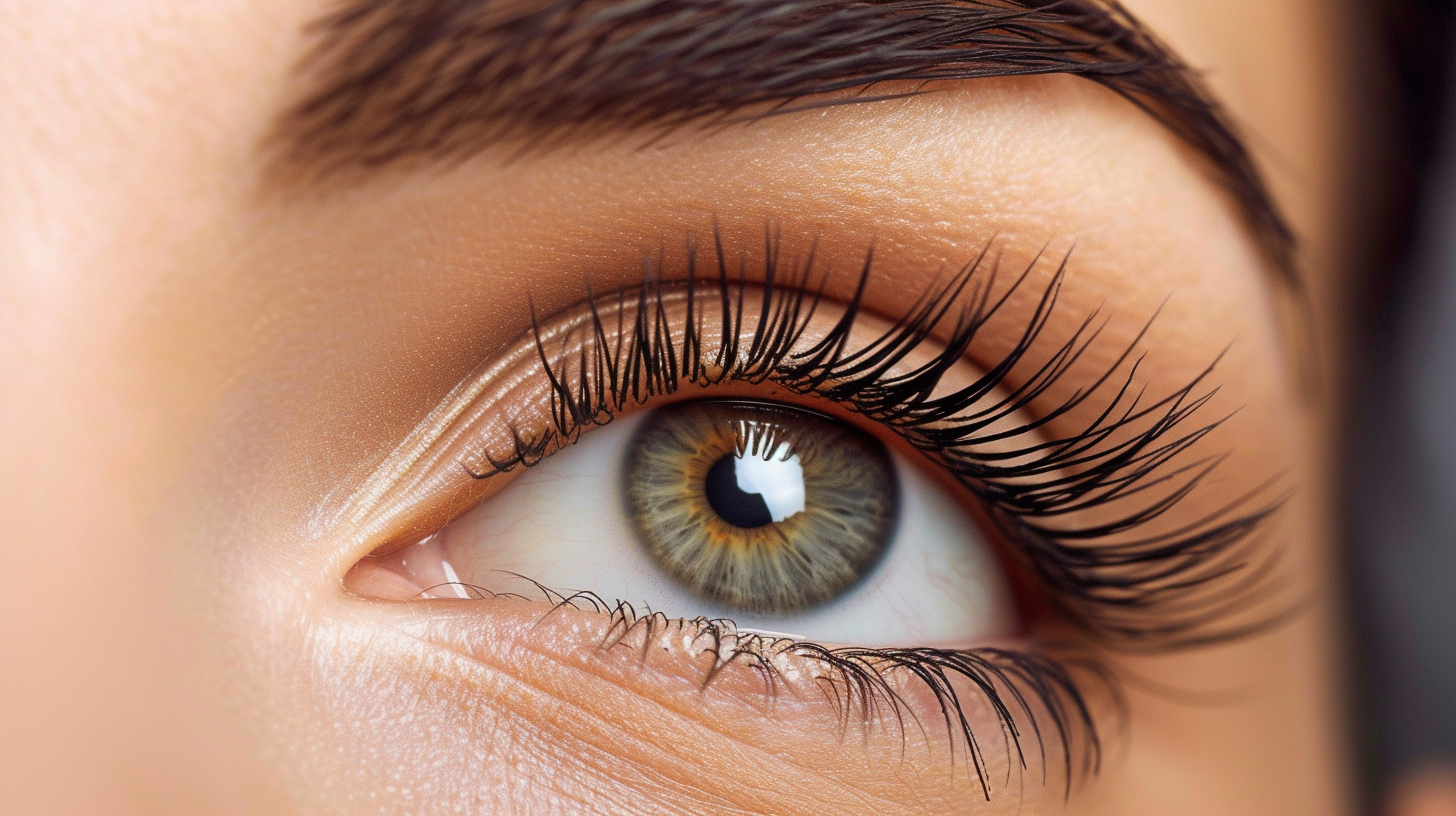
How To Stop Eyelashes From Getting In Your Eye
Maintaining your eyelashes’ health through proper grooming can significantly reduce the chances of them getting into your eye.
An essential part of this grooming is developing a regular cleaning routine and considering lash trimming when necessary.
Firstly, adopting a gentle cleaning routine for your eyes is crucial. You’ll want to carefully remove any makeup or debris from your eyelashes daily.
Use a mild, eye-safe cleanser and a soft cloth or cotton pad to carefully wipe away dirt and makeup residue.
This keeps your lashes clean and helps prevent eye infections and irritation that could cause your lashes to fall out or get into your eyes more easily.
Lash trimming is another aspect to consider, especially if you notice your lashes are excessively long or tend to curl into your eye.
While it may seem daunting, trimming your lashes can be done safely at home with the right tools. Use small, sharp, and preferably curved scissors to lightly trim the tips of your eyelashes.
Choose the Right Makeup
Selecting the right makeup is crucial in preventing eyelashes from getting into your eyes. Opting for waterproof mascara ensures your lashes stay in place, reducing the risk of irritation.
Additionally, mastering eyeshadow application can significantly minimize fallout, keeping your eyes clear and comfortable.
Select Waterproof Mascara
Opting for waterproof mascara can significantly reduce the chances of eyelashes sticking together or falling into your eyes.
By choosing the right waterproof formula, you’re ensuring that the mascara composition is designed to withstand moisture, which is key in preventing your lashes from becoming too heavy and shedding into your eye. Plus, mastering the right application technique can make all the difference.
Look for mascaras that promise smudge-proof and long-lasting wear.
Apply in thin, even coats to avoid clumping.
Wait for each coat to dry before applying the next to prevent lashes from sticking together.
Use a clean mascara wand to separate lashes after application for a more defined look.
Eyeshadow Application Tips
Choosing the right eyeshadow can significantly enhance the longevity and appearance of your eye makeup, preventing eyelashes from getting in your eye.
Don’t underestimate the importance of primer; it’s your best friend in creating a smooth canvas that intensifies the pigment and keeps your eyeshadow in place all day.
Mastering blending techniques is also key. Harsh lines or poorly blended eyeshadow can lead to excessive touching or rubbing of the eyes, which increases the chance of lashes falling into your eye.
Use a soft, fluffy brush to blend your eyeshadow seamlessly. This ensures a polished look that minimizes eye irritation and keeps your lashes safe and sound.

Use Protective Eyewear
Wearing protective eyewear can effectively prevent eyelashes from getting into your eye. It’s not just about choosing any glasses or goggles; it’s about finding the right fit and ensuring they meet the necessary safety standards.
When you’re constantly battling with eyelashes falling into your eyes, especially in environments where dust and debris are a concern, protective eyewear becomes more than just a preventive measure—it’s a necessity.
Here’s what you need to consider:
- Lens maintenance: Regular cleaning and inspection of your protective eyewear ensure that the lenses remain clear and free from scratches. This is crucial not only for clear vision but also to prevent any irritation that might cause you to rub your eyes, leading to eyelashes falling in.
- Safety standards: Ensure that the protective eyewear you choose complies with recognized safety standards. This guarantees that the material and design of the glasses or goggles are suitable for protecting your eyes not just from eyelashes, but from external elements too.
- Comfort and fit: Choose eyewear that sits comfortably on your face. If it’s too tight or loose, you’ll find yourself adjusting it frequently, increasing the risk of eyelashes and other particles getting into your eyes.
- Appropriate for the environment: Whether you’re in a dusty outdoor environment, in front of a computer screen, or in a windy area, make sure the protective eyewear you select is suitable for the specific conditions you’re in.
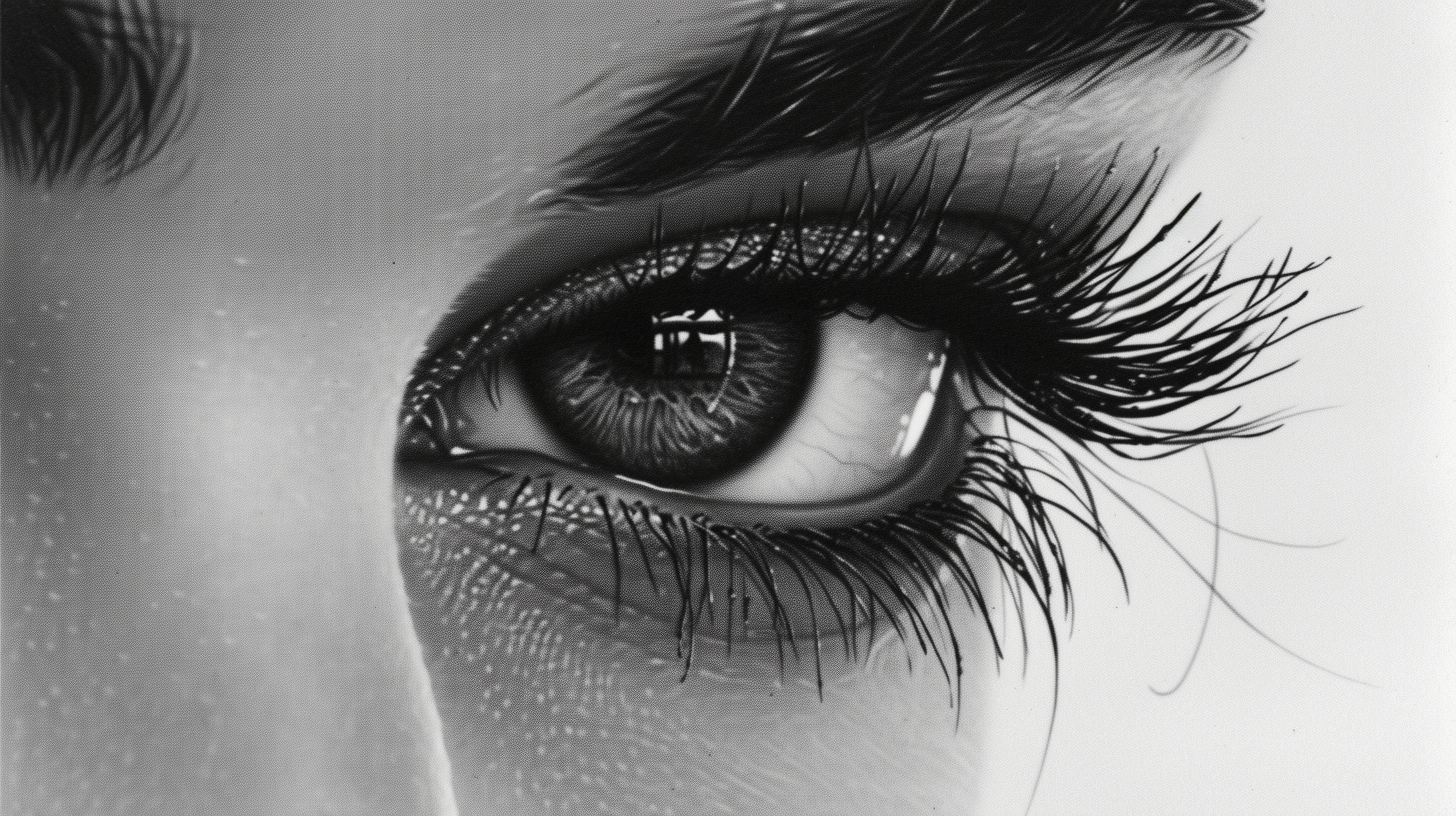
Eyelash Conditioning Treatments
Moving on from protective eyewear, let’s talk about eyelash conditioning treatments.
You’ll find that conditioning your lashes can greatly benefit their health and prevent them from falling into your eyes.
It’s crucial, however, to pick the right treatment that suits your specific needs.
Benefits of Conditioning
Regularly applying eyelash conditioning treatments can significantly enhance your lashes’ health and appearance.
When using natural ingredients found in many DIY recipes, you can create effective conditioners that provide numerous benefits, including:
- Reduced breakage: Conditioners strengthen lashes, making them less likely to break or fall into your eyes.
- Improved growth: Nutrients from natural ingredients promote healthier, longer lashes.
- Enhanced moisture: Keeping lashes moisturized prevents them from becoming brittle lashes and falling out.
- Natural shine: Conditioned lashes have a noticeable shine, giving your eyes an added sparkle without the need for makeup.
Choosing the Right Treatment
Selecting the right eyelash conditioning treatment is crucial for achieving optimal lash health and appearance.
You’ve got to weigh your options carefully, considering both your specific needs and the variety of treatments available.
Natural remedies often stand out due to their minimal side effects and potential for nourishment.
Ingredients like castor oil, vitamin E, and coconut oil aren’t only accessible but have been praised for their effectiveness in promoting lash health.
When exploring these options, it’s essential to research and possibly consult a professional to ensure they’re suitable for your eyelashes.
Remember, consistency is key. Regular application as per the recommended guidelines can lead to visible improvements, making your lashes not only healthier but also less likely to irritate your eyes by falling in.
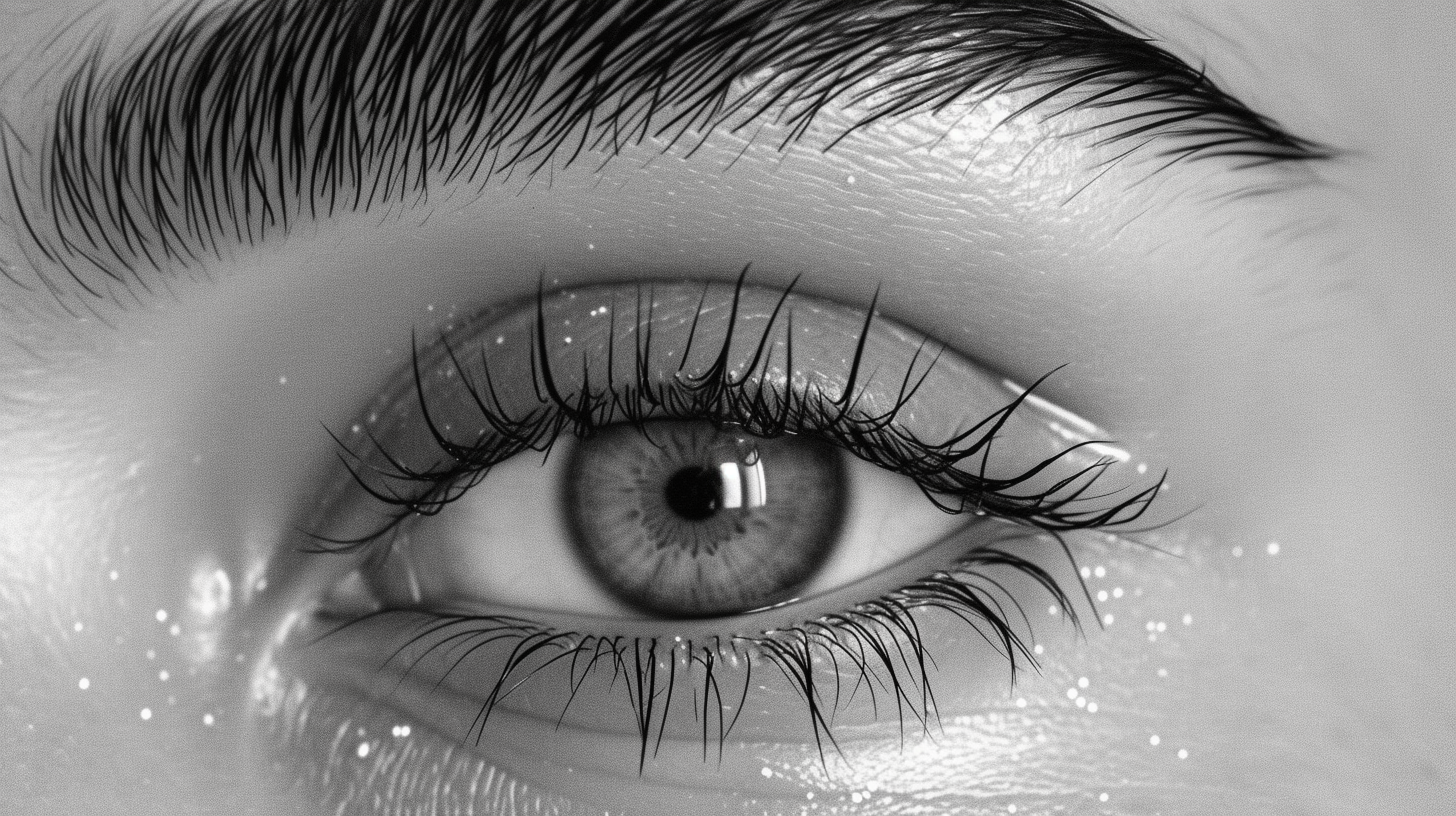
Regular Eye Checkups
Regular visits to your optometrist aren’t just about updating your prescription or choosing new frames.
They’re essential for maintaining overall vision health and catching any eye diseases early on.
By keeping a close eye on the health of your eyes, you’re less likely to face issues that could lead to discomfort or vision impairment.
During these checkups, your eye doctor will conduct thorough examinations that can identify any abnormalities or conditions that might contribute to your lashes falling into your eyes more frequently. Here are a few reasons why these appointments are so crucial:
- Early Detection of Eye Diseases: Catching conditions like blepharitis, which can lead to your eyelashes becoming more brittle and falling out, early on can save you a lot of discomfort and protect your vision.
- Updated Prescriptions: Wearing glasses or contacts with an outdated prescription can strain your eyes, potentially leading to more eyelashes falling into your eyes.
- Professional Advice: Your eye doctor can provide tailored advice on eye hygiene and care to keep your lashes healthy and in place.
- Corrective Measures: If your eyelashes are causing constant irritation due to their direction of growth, your optometrist can suggest or perform corrective procedures.
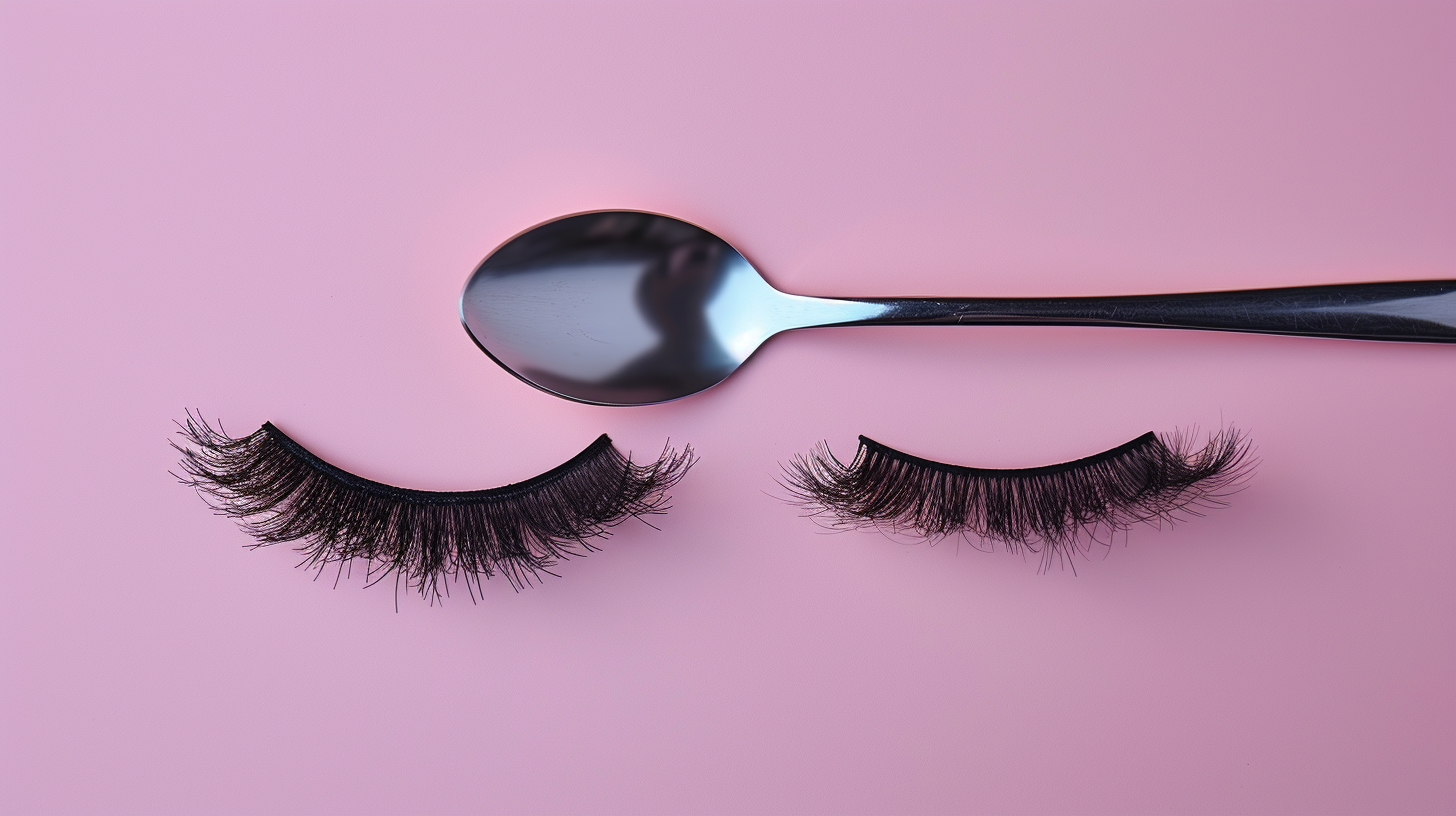
Mindful Eyelash Extensions
Opting for eyelash extensions can give your eyes a stunning boost, but it’s crucial to approach this beauty enhancement mindfully to avoid any eye discomfort or damage.
Before you dive into this trend, it’s essential to consider your lash sensitivity. Everyone’s eyes react differently to extensions, and for some, the materials used can cause irritation or allergic reactions.
Once you’ve taken the leap, extension maintenance becomes your next priority to keep those lashes from causing trouble.
Proper care ensures they stay beautiful and prevents them from becoming a nuisance or, worse, a hazard.
You’ll need to gently clean your extensions regularly, avoiding oil-based products that can weaken the adhesive. This step is crucial; dirty or oily extensions are more likely to clump together and potentially end up in your eye.
Conclusion
Keeping your eyelashes out of your eyes doesn’t have to be a struggle. Just remember to groom them properly, pick your makeup wisely, and don’t shy away from protective eyewear when it’s needed.
Conditioning treatments can also work wonders, ensuring your lashes stay healthy and in place. And, if you’re going for extensions, be mindful of the type and application.
Regular eye checkups can’t be overlooked either; they’ll keep your eyes and lashes in top condition. Stay vigilant and enjoy clear, hassle-free vision.

Hi! My name is Gemma, and welcome to Miss Makeup Magpie. I share helpful articles to help you with beauty tips, tricks and tutorials.